How I Make a Minecraft Server: Complete Step-by-Step Guide for Beginners in 2026
If you've ever wondered how I make a Minecraft server to play with friends, host a modded world, or build a custom survival experience, you're in the right place. Setting up your own Minecraft server might sound complicated, but it's actually straightforward once you break it down. In this guide, I'll walk you through how I make a Minecraft server from start to finish—covering vanilla, plugin-based, and modded options, plus both free local hosting and paid external hosting for 24/7 uptime.
Whether you're looking for how to make a Minecraft server on your PC for free, how to make a modded Minecraft server with Fabric, or how to create a Minecraft server with plugins using Paper, this step-by-step tutorial has you covered. By the end, you'll have a fully working server that you and your friends can join anytime.
Step 1: Choose Your Server Type
The first decision in how I make a Minecraft server is picking the software:
- Vanilla → Official Mojang server. Perfect for a pure Minecraft experience with no extras.
- Paper (Recommended for Plugins) → A high-performance fork of the vanilla server that supports plugins for features like permissions, economy, and multi-worlds.
- Fabric (Recommended for Mods) → Lightweight and modern mod loader. Most new mods are built for Fabric, making it ideal for modded servers.
- Other options like Purpur (extra optimizations) or Forge exist, but Paper and Fabric are the most beginner-friendly in 2026.
Check the latest versions on official sites (Minecraft 1.21+ is current as of early 2026).
Step 2: Decide Between Local or Paid Hosting
- Local Hosting (Free) — Run the server on your own computer. Great for testing or small groups, but your PC must stay on and connected for others to join.
- Paid Hosting (Recommended for Public/24/7 Servers) — Use a provider for always-online access, automatic backups, and easy management. Many offer affordable plans with good performance.
For how to make a Minecraft server for free, start locally. For reliability, go paid.
Step 3: Download and Install Java (Required for All Servers)
Minecraft servers run on Java. Download the latest JDK (Java Development Kit) version recommended for your Minecraft version—usually JDK 21 for 1.21+.
- Go to the official Oracle Java downloads page.
- Select your operating system and install with default settings.
- Restart your computer after installation.
Step 4: Download Your Server Software
- Vanilla: Download the server.jar from minecraft.net.
- Paper: Get the JAR from papermc.io.
- Fabric: Use the Fabric installer to generate a server JAR and libraries folder.
Create a dedicated folder on your desktop or drive, and place the downloaded JAR file(s) inside.
Step 5: Set Up and Run a Local Server
This is the core of how I make a Minecraft server on my PC:
- In your server folder, create a file called
run.bat(Windows) orrun.sh(Mac/Linux). - For Windows, paste this code into the file:
@echo off java -Xmx4G -Xms4G -jar server.jar nogui pause- Replace
server.jarwith your actual JAR name (e.g.,fabric-server-launch.jar). - Adjust the RAM allocation (
4G= 4GB) based on your computer's memory—don't exceed what your system can spare.
- Replace
- For Fabric servers, also place the
librariesfolder and vanilla server JAR in the same directory. - Double-click
run.batto start the server for the first time. It will generate files and then stop. - Open
eula.txtand changefalsetotrueto accept the Minecraft EULA. - Run
run.batagain. The server will fully start and generate a world. - To join locally: Open Minecraft → Multiplayer → Add Server → Server Address:
localhost.
For friends to join from outside your network, you'll need port forwarding or a tunneling tool like playit.gg.
Step 6: Set Up on Paid Hosting
If you want an always-online server:
- Sign up with a reputable host.
- Create a new server instance and select your preferred type (Vanilla, Paper, Fabric, etc.).
- In the control panel, set the JAR name, RAM allocation, and Minecraft version.
- Start the server—the host handles Java and downloads automatically.
- Copy the server IP from the dashboard and share it with friends.
Paid hosting makes how to create a Minecraft server with plugins or mods much easier, as most panels have one-click installers.
Step 7: Add Mods (For Modded Servers)
Mods add new content like mobs, items, or mechanics.
- Download mods from trusted sites like Modrinth or CurseForge (always match your Minecraft and loader version).
- Place the .jar files into the
modsfolder (created after first server run). - Install Fabric API if required—most Fabric mods need it.
- Restart the server.
Note: Purely server-side mods don't require clients to install anything. Content-adding mods (e.g., new biomes or items) require everyone to have the same mods.
Step 8: Add Plugins (For Paper/Purpur Servers)
Plugins add features like permissions, homes, or mini-games.
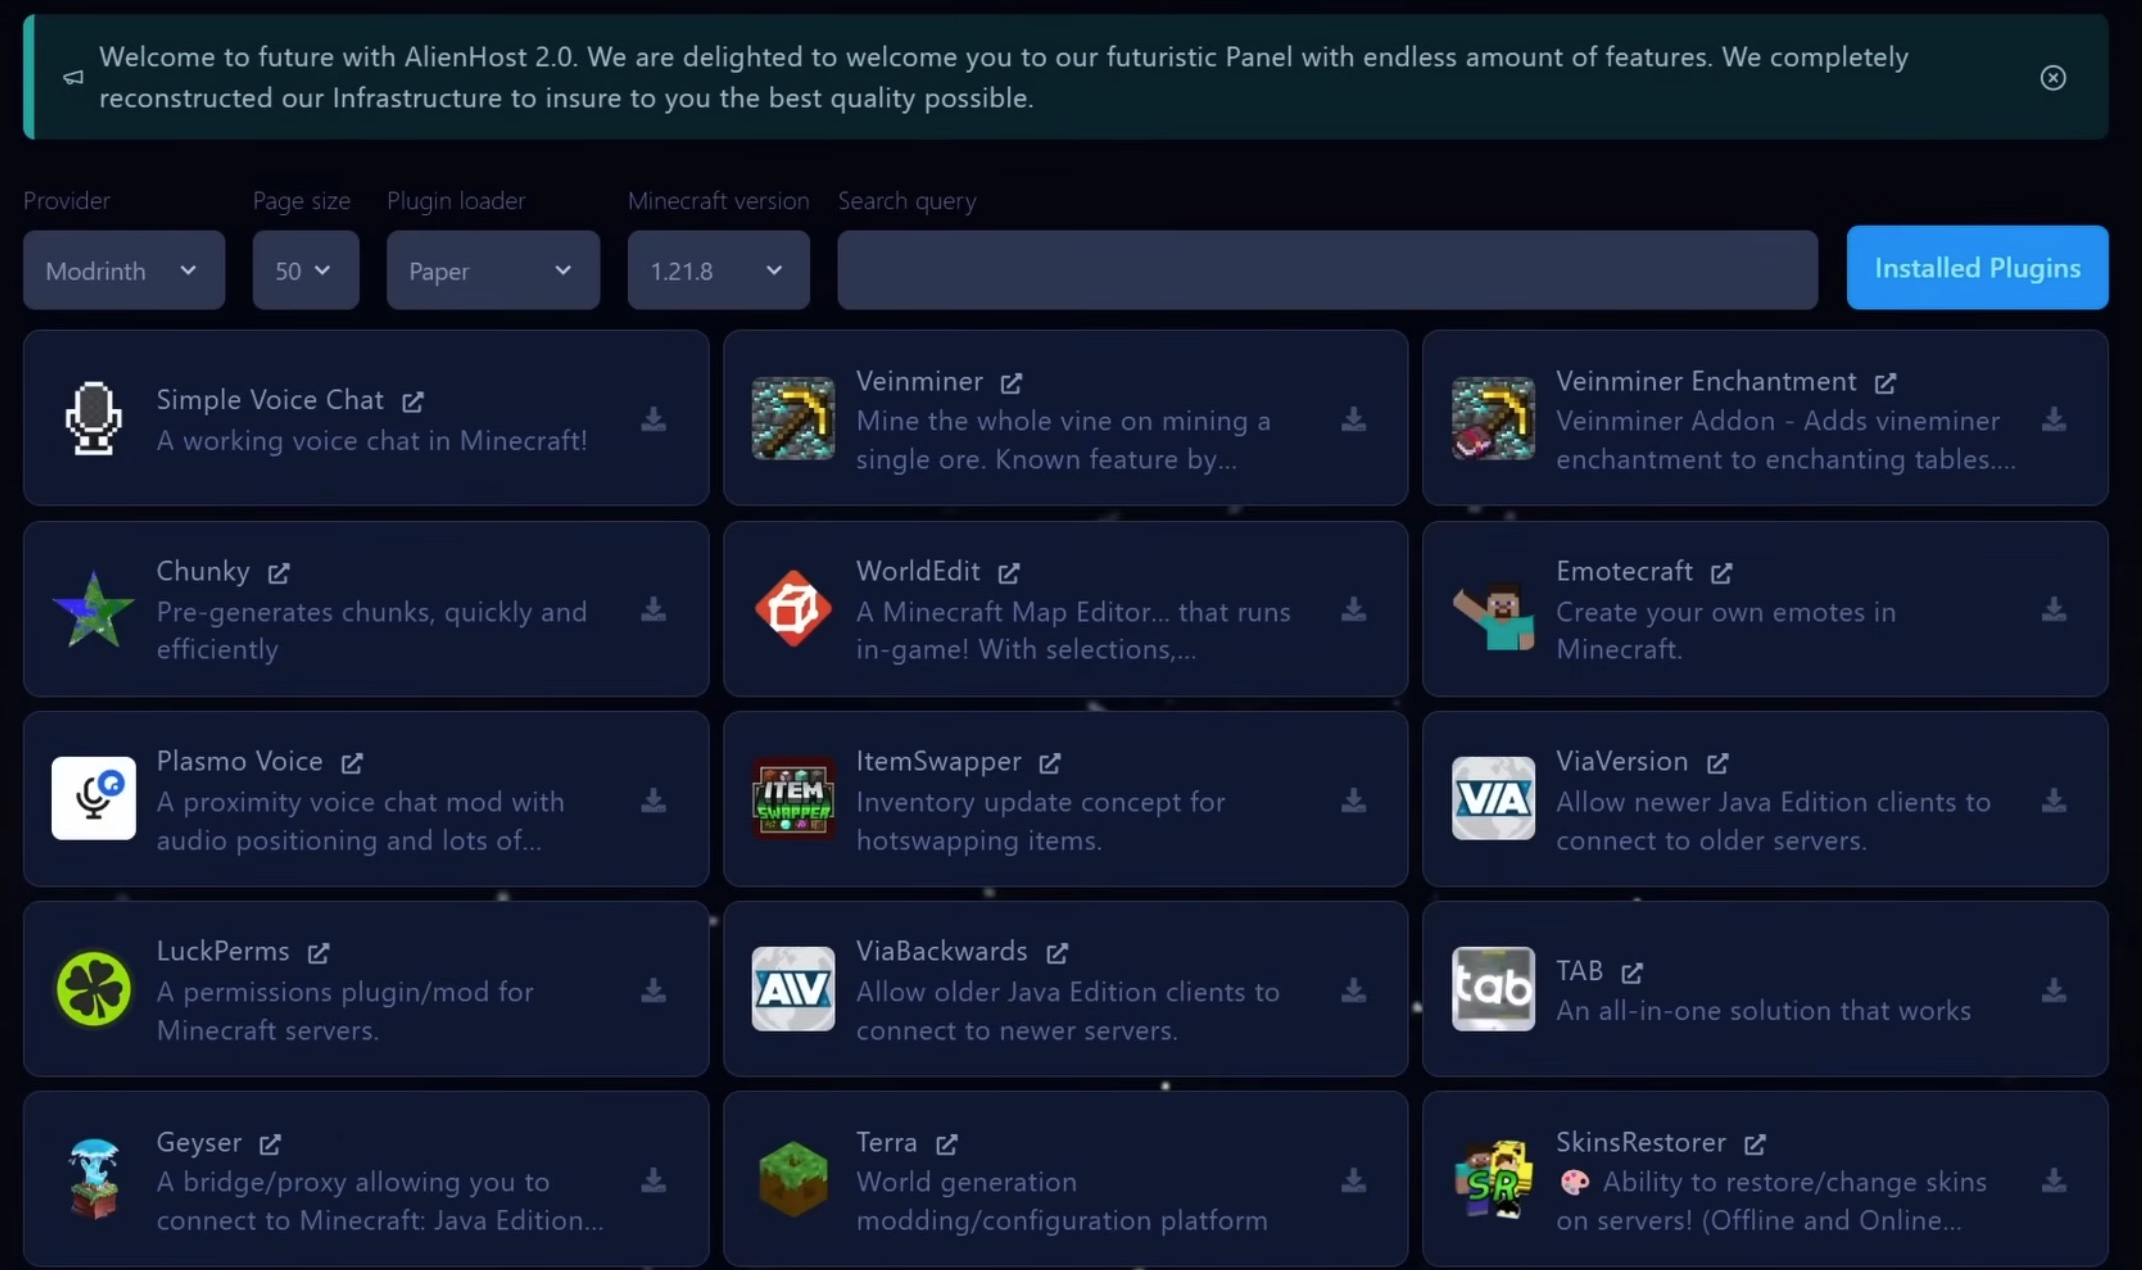
- Many hosts have a built-in plugin installer—search and install directly.
- Or manually upload .jar files to the
pluginsfolder. - Restart the server to generate config folders.
- Edit configs inside each plugin's folder as needed.
Popular starter plugins: LuckPerms (permissions), EssentialsX (basic commands), and WorldEdit (building tools).
Final Tips for Your Minecraft Server
- Always back up your world folder regularly.
- Allocate enough RAM—start with 4GB for small servers, more for mods/plugins.
- Test everything locally before going public.
- Keep your server software and mods updated for security and new features.
That's how I make a Minecraft server—simple, flexible, and rewarding. Whether you're running a small friends-only vanilla world or a fully modded public server, these steps will get you online quickly. Enjoy building, exploring, and playing together!